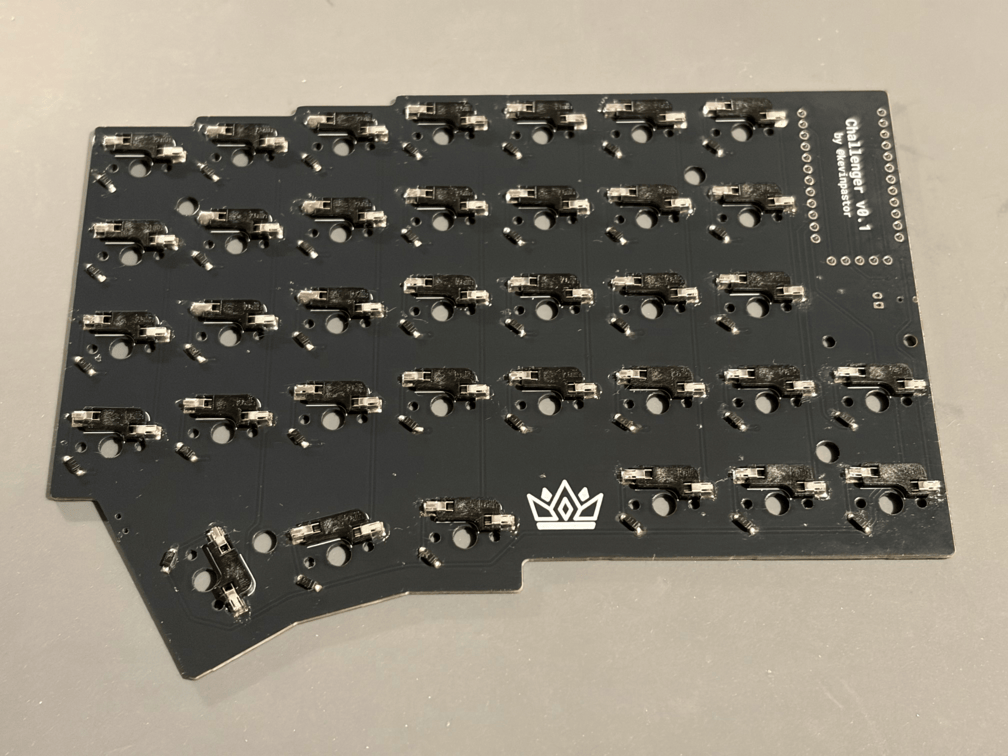
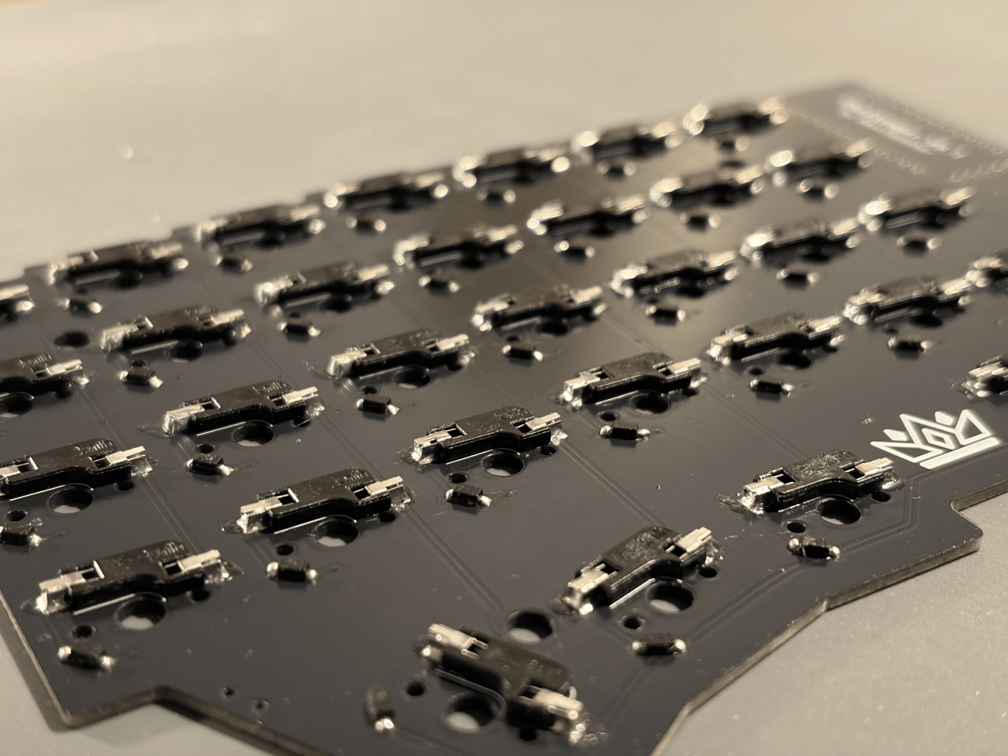
2. Hot-Swap Sockets

The following steps apply to all 35 sockets. Complete all steps for each socket one at a time, or perform each step across all sockets before moving to the next.
-
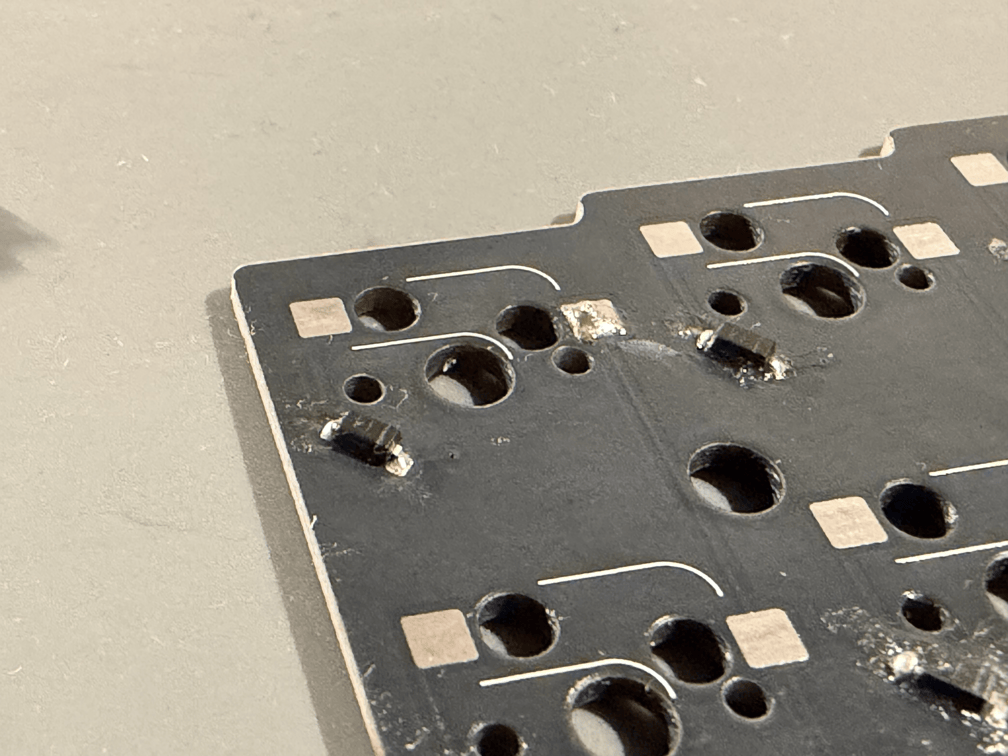
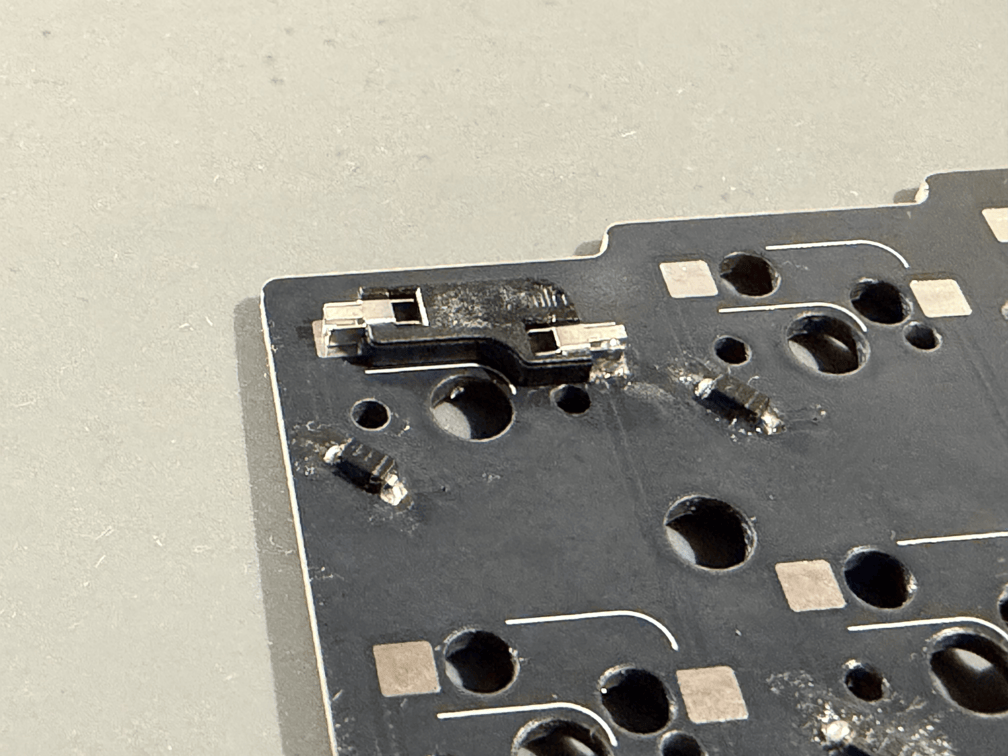
Pre-tin the bottom-right pad for a socket on the back side of the PCB.
-
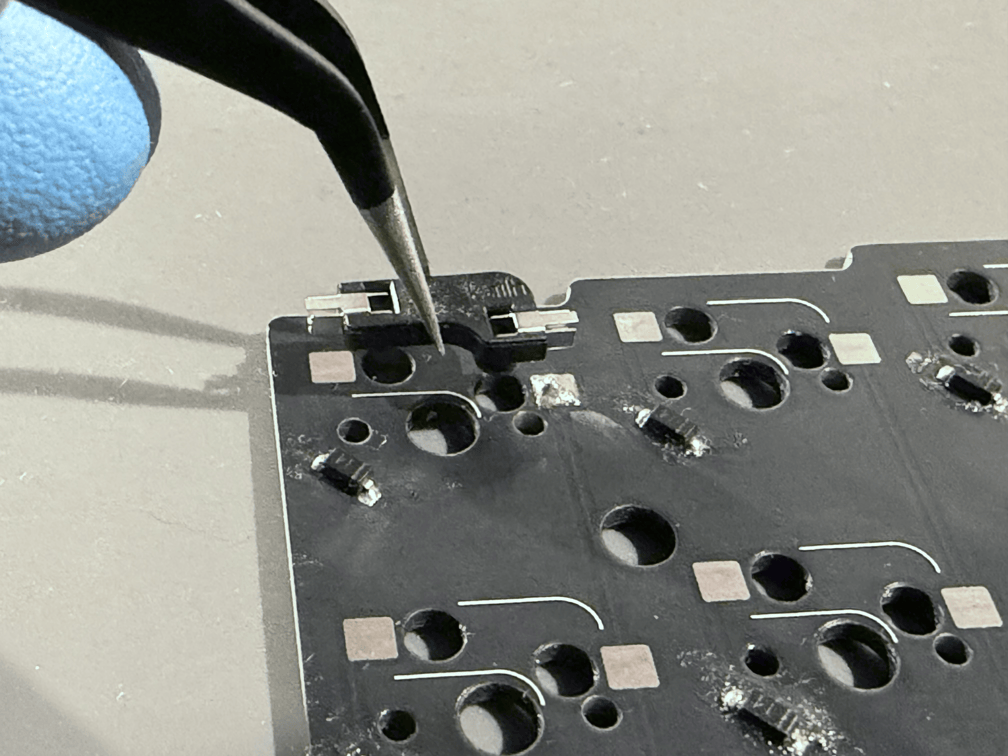
Position the socket.
-
Reheat the pre-tinned pad while pushing the socket into position.
-
Solder the top-left pad.
- Rotate the board beforehand if it makes it easier.
-
Repeat the previous steps for all remaining hot-swap sockets.