14. Switches

-
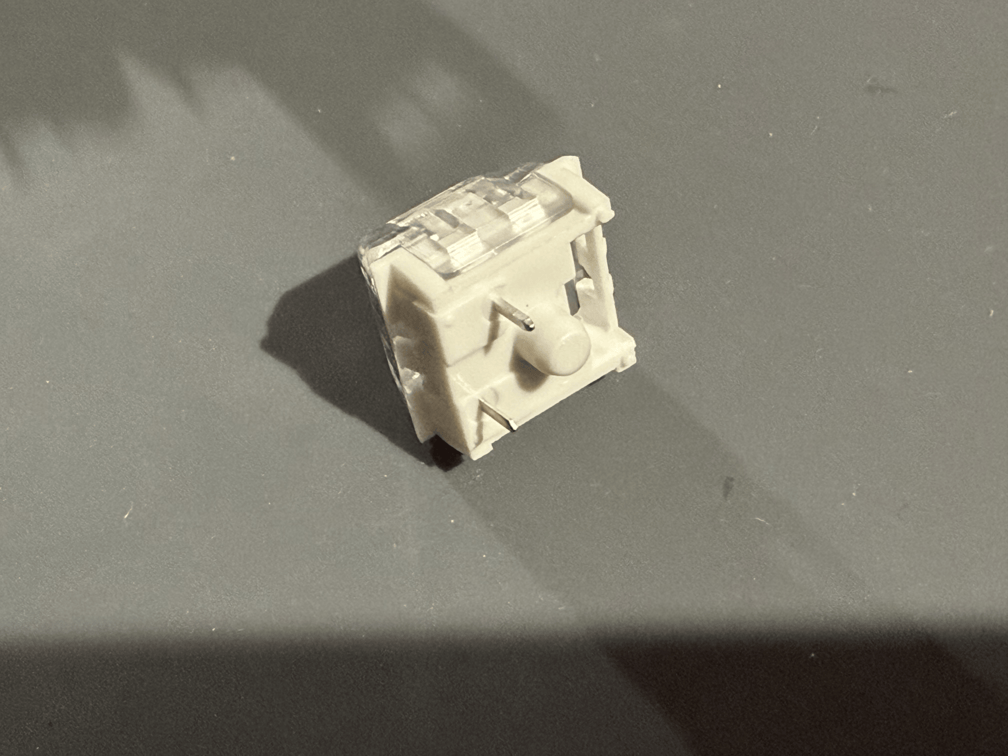
Verify that the pins of the switches are straight.
- Bent pins will not seat properly into the hot-swap sockets and can damage them.
-
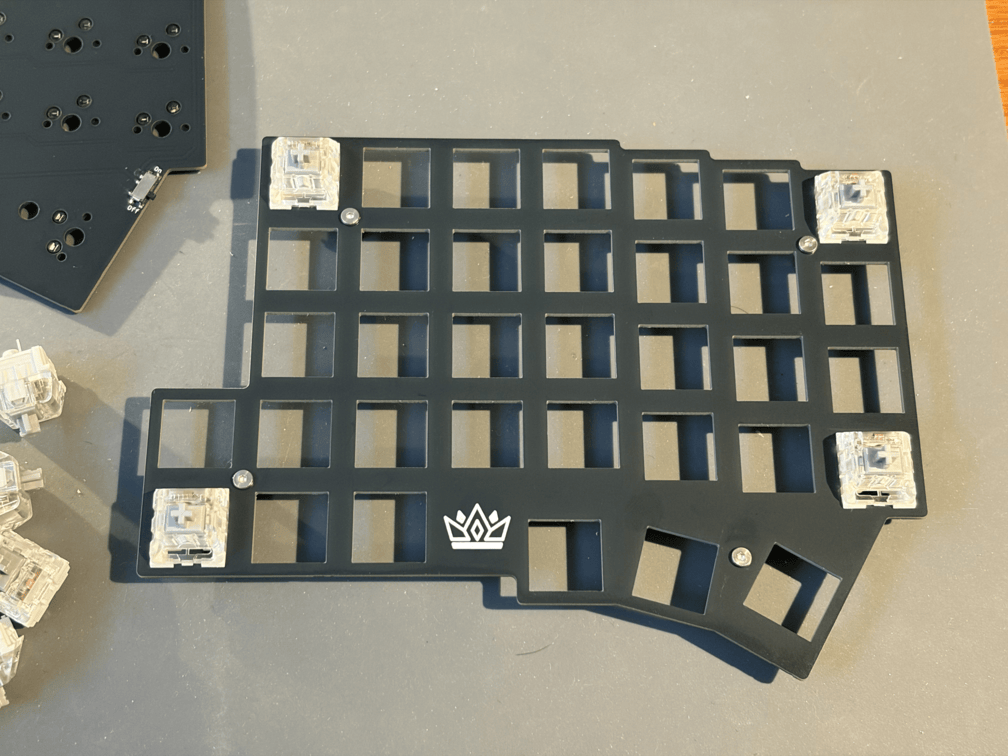
Place a switch at each corner of the top side of the switch plate.
- Make sure they clip securely into the switch plate.
-
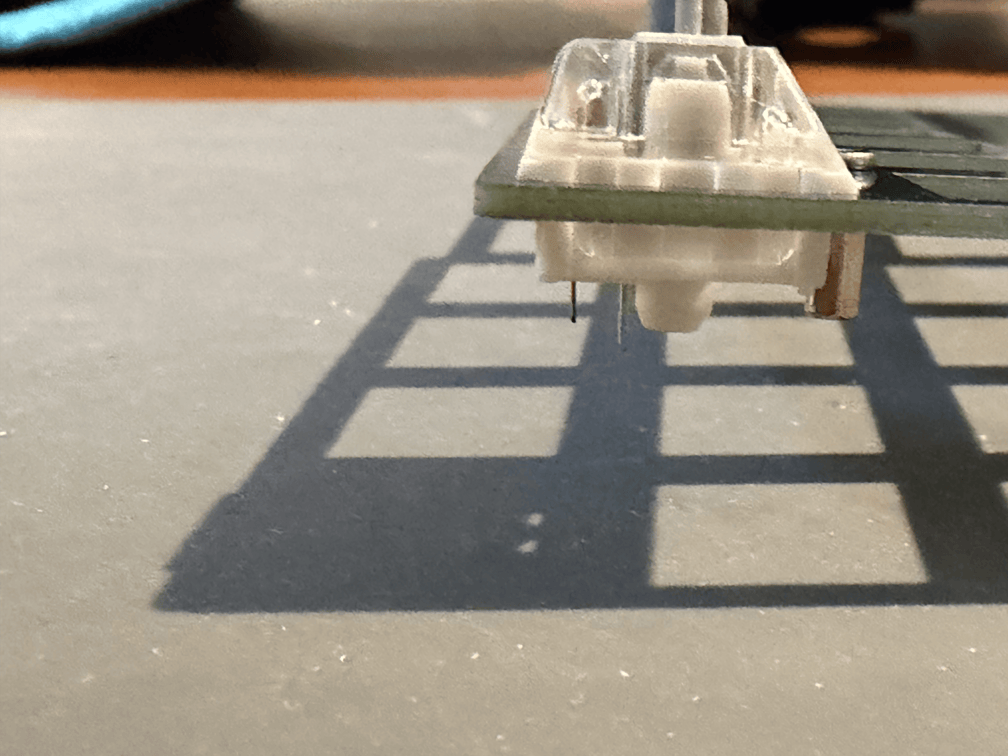
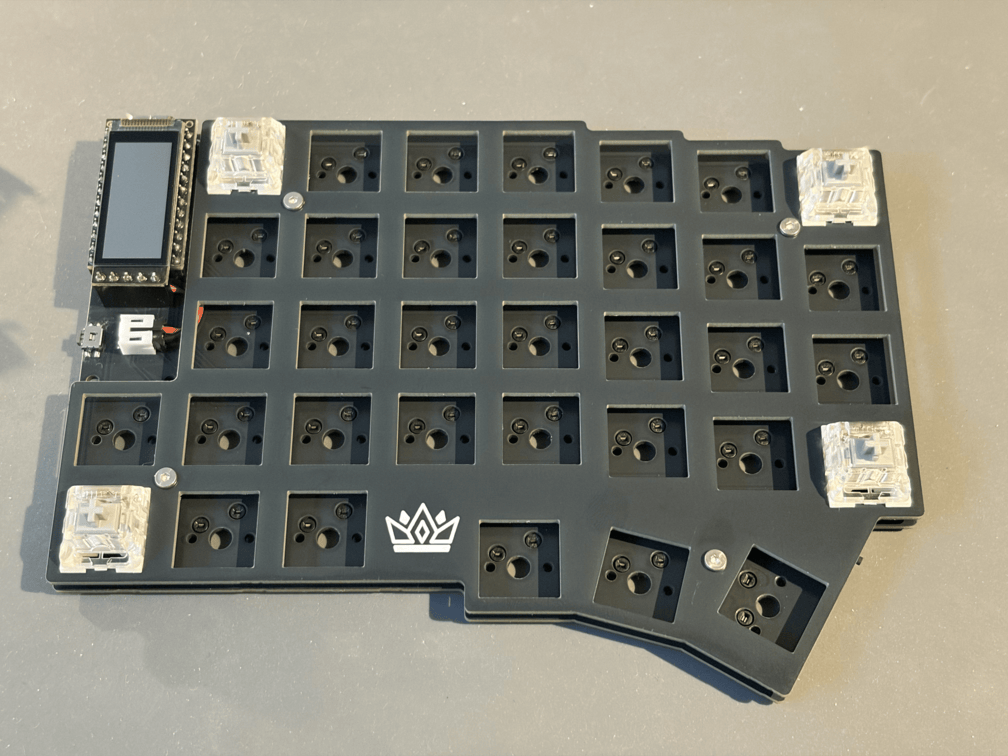
Position the switch plate onto the PCB.
- Align the switches on the corners with their corresponding hot-swap socket.
-
Press the switches into their socket.
- The switches should now sit flush with the PCB.
-
Install the remaining switches.
- Position the switch onto the switch plate.
- Be careful when positioning the thumb cluster switches.
- Be careful when positioning the switches near the battery; make sure the battery cable is out of the way.
- Press the switch into the switch plate and the hot-swap socket.
- Repeat the previous steps for the remaining 30 switches.
- Position the switch onto the switch plate.